
To import seller leads into your system from the Investment Dominator Data Service you can use the ‘Find Deals Wizard‘ following these simple steps:
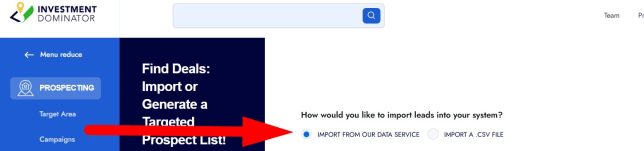
STEP 1: From the left navigation pane select ‘PROSPECTING’, then click on the ‘WIZARDS‘ option from the top right side of the screen and select the ‘Find Deals‘ option:

STEP 2: Select the ‘IMPORT FROM OUR DATA SERVICE‘ option:
STEP 3: A summary of your current Data Plan usage will appear along with two options:
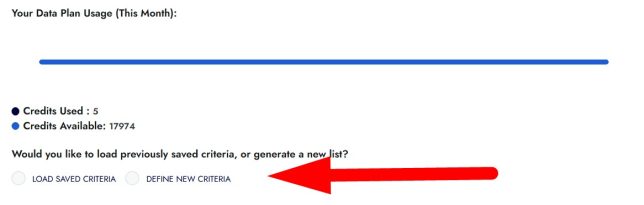
- Select the ‘LOAD SAVED CRITERIA‘ option if you would like to import data based on criteria that you have previously defined in your system.
- Select the ‘DEFINE NEW CRITERIA‘ option if you would like to import data in a new area.
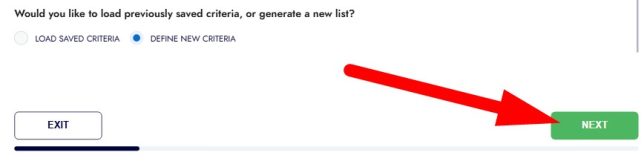
For this example, we will select the ‘DEFINE NEW CRITERIA‘ option.
Click the ‘NEXT‘ option to proceed to the next step:
STEP 4: If you would like to select an area based on a map view select the ‘MAP VIEW‘ option and this will load an interactive map:
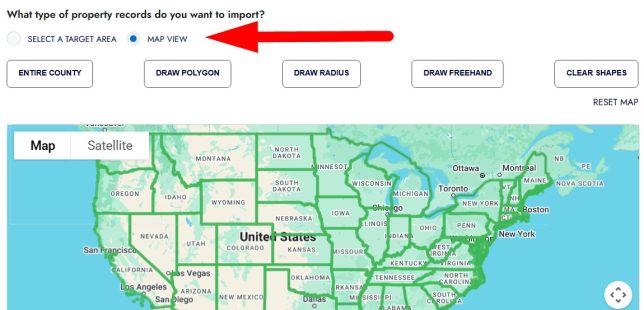
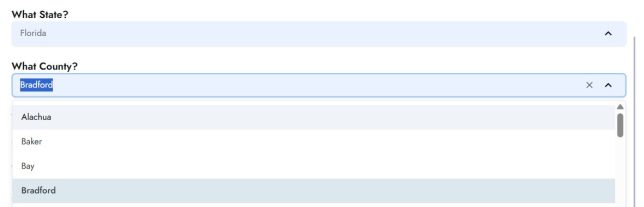
For this example, let’s keep the default settings selected, which is the ‘SELECT A TARGET AREA‘ option. With this option simply choose a state from the dropdown menu.
Once you select a state, a list of counties within that state will appear and simply select the one you want to pull data from:
Next, select whether you would like to use our standard filters or not:
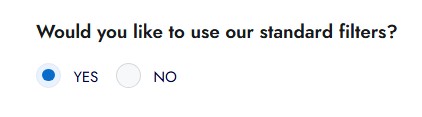
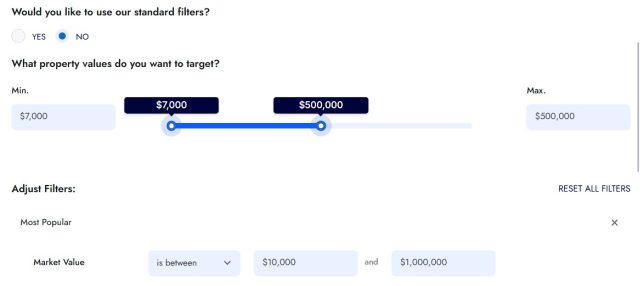
If you use our standard filters, then you can simply hit the ‘NEXT‘ option at this point. If you want to define your own custom filters, then select the ‘NO‘ option and define your criteria under the ‘Adjust Filters‘ section:
Click the refresh option next to the ‘ESTIMATED RECORDS‘ count to get an updated record count based on the filter selections you have made and once you are ready to continue click the ‘NEXT‘ option to continue:

STEP 5: A summary of your pending import and selected filters will appear. Review this and if everything looks good click the ‘NEXT‘ button to move to the next step. If you would like to modify any of the filters, click the ‘BACK‘ button then select the ‘NO‘ option under the standard filters prompt so that you can select your own custom filters.
STEP 6: Next,enter the number of records that you would like to import into your system:

If you have enough Data Credits to cover the import you can continue on to the next step. However, if you do not have enough credits to cover the import, you can either:
- Adjust the amount of records you want to import
- Or upgrade your Data Service plan.
NOTE: You may not want to import all the records that are available based on your selected criteria on the previous step.
Tracking The New Records After Import
Optionally on this screen you can choose to tag these new records that you import, for tracking purposes, and even assign them to one of your team members from this screen.
We recommend that you add these records to a Deal Flow and select the Status that the newly created records should be indexed in:
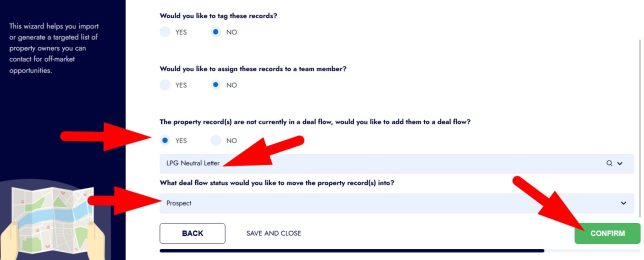
Click the ‘CONFIRM‘ option to continue with the import.
Frequently Asked Questions
Can I adjust the Market Value filter to exceed $1,000,000, for example when using n8n or other integrations?
No. The Market Value filter has a fixed maximum of $1,000,000 and cannot be increased at this time. This limit applies regardless of integrations or external workflows.
Why is the Market Value filter capped at $1,000,000?
This is a system-defined constraint within the Find Deals data service and is not currently configurable by users.
What should I do if I need higher Market Value filters or other custom filter changes?
If you have a business need for higher Market Value ranges or additional filter flexibility, you can:
• Create a support ticket for discussion and review
• Submit a feature request under Help → Feature Suggestions
This helps our product team evaluate demand and prioritize enhancements.
Does this limitation affect data imports or exports outside the Find Deals Wizard?
No. This limitation only applies to filtering within the Find Deals Wizard itself. Imported or externally sourced data may include properties above this value, depending on the source.
Once the new records have been created in your system you will see a summary screen that displays the details of your import as well as a link to your newly created records in the system.