Highlighting records lets you visually mark properties in your list so they stand out. This is helpful for prioritizing follow-ups, flagging important deals, or organizing your workflow.
Step 1: Open Your Records
• Go to Prospecting from the left-side menu.
• The records table will load.
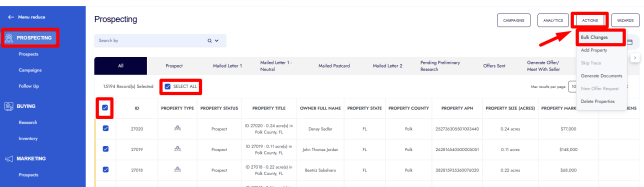
Step 2: Select Records
• Check the box next to each record you want to highlight.
• Or use Select All to apply the action to the full list.
Step 3: Open Bulk Changes
• Click Actions in the top right.
• Select Bulk Changes.
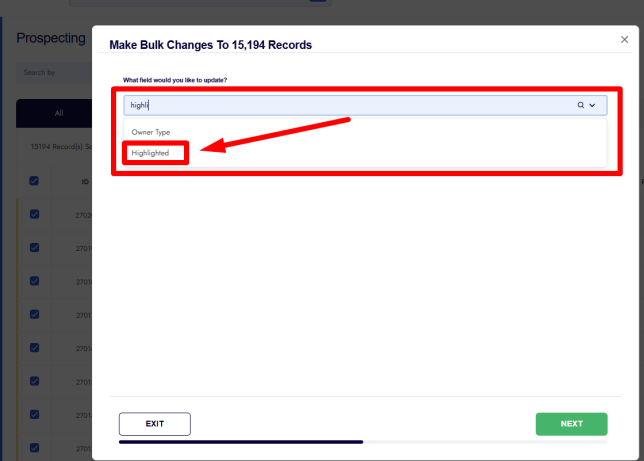
Step 4: Choose the Highlight Field
• In the field selector, type Highlighted.
• Select Highlighted from the list.
• Click Next.
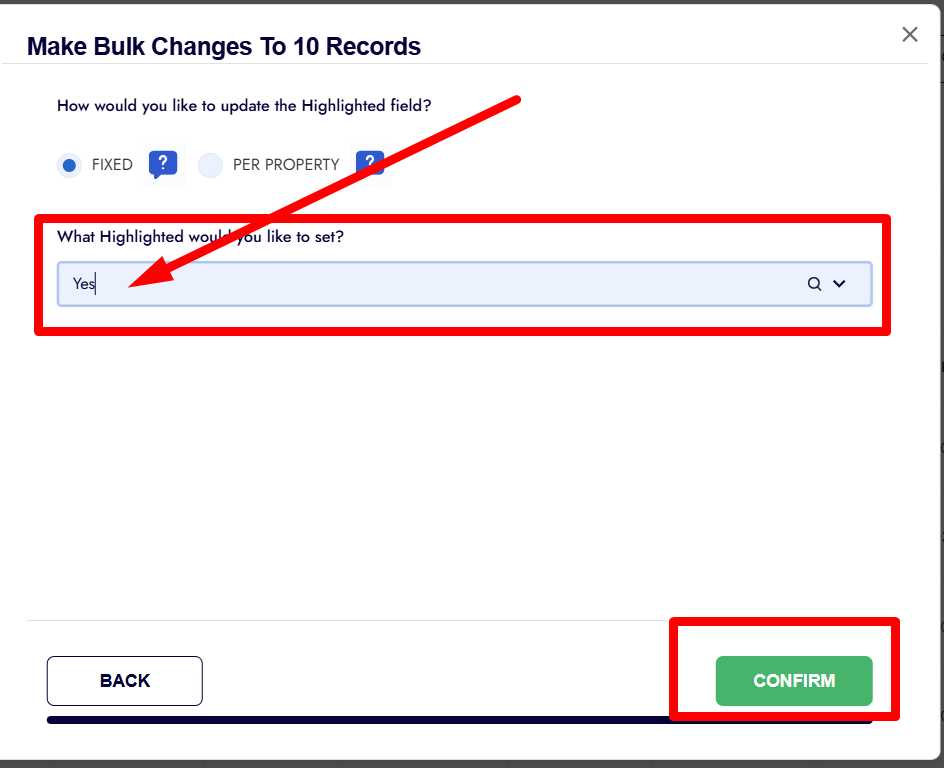
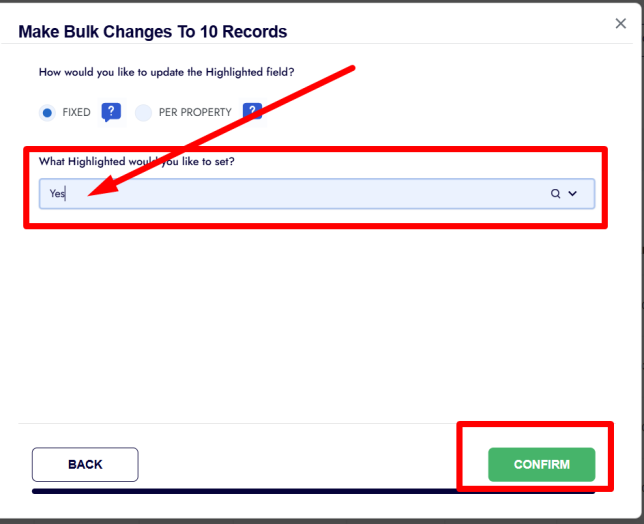
Step 5: Apply the Highlight
• Choose Fixed as the update method.
• Select Yes to turn highlighting on.
• Click Confirm.
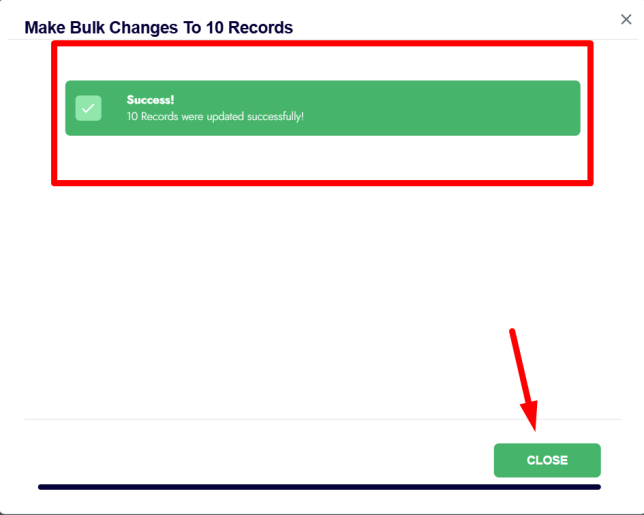
Step 6: Confirm and View
• Wait for the confirmation message showing how many records were updated.
• Refresh the page if needed.
• The selected records will now appear highlighted.
Frequently Asked Questions
What does highlighting do?
It visually marks records so they are easier to spot in your list. It does not change any data or status.
Can I remove the highlight later?
Yes. Use the same Bulk Changes process and set Highlight = No.
Does highlighting affect exports or campaigns?
No. Highlighting is only a visual indicator inside the platform.
Can I highlight records across different filters?
Yes, as long as the records are selected in the current view.
Is highlighting permanent?
It stays in place until you remove it manually.