You can quickly add or remove tags from multiple records at once using the Bulk Changes action. Follow the steps below:
Step 1: Search and Select Records
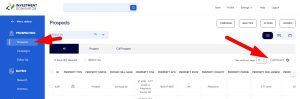
- From the left-navigation menu click either ‘PROSPECTING‘ or ‘BUYING‘.
- Use the ‘Quick Search‘ option at the top of the property table to find the records you want (for example, by State, ZIP code, or Owner ID).
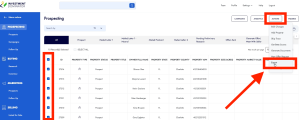
- Select the checkboxes next to the records you want to tag.
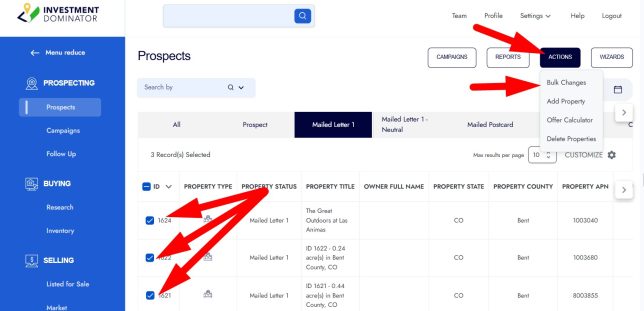
- With your records selected, click on the ACTIONS option (top right).
- Then select ‘Bulk Changes‘
Step 2: Bulk Changes
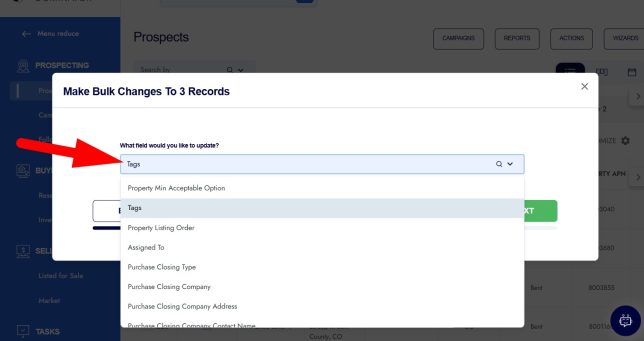
- A pop-up will appear asking, “What field would you like to update?”
- Search and select the ‘Tags‘ option from the dropdown menu and click ‘NEXT‘ to continue:
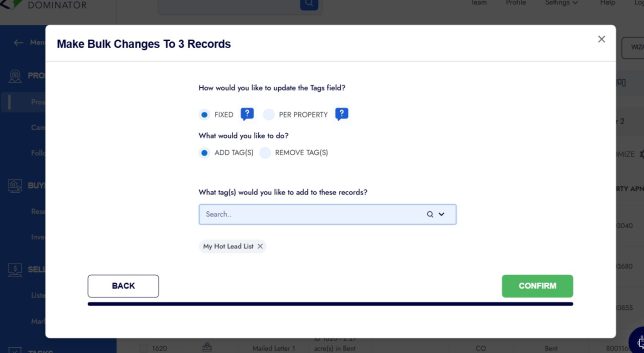
Step 3: Choose How to Update Tags
You will see two questions:
- How would you like to update the Tags field?
- FIXED: Apply the same tag to all selected records.
- PER PROPERTY: Add different tags for each record individually.
- What would you like to do?
- ADD TAG(S)
- REMOVE TAG(S)
Step 4: Add or Remove Tags
- If adding, type the tag name (example: My Hot Lead List).
- Click the tag name to add it to the queue.
- Click the green ‘CONFIRM‘ option to add the tags to your selected records:
Step 5: Confirmation
- Once complete, you’ll see a message like:
“Success – 3 records were updated successfully.” - Click ‘CLOSE’ to exit:

- The updated tags will now show on your records.
That’s it! You’ve successfully updated tags in bulk.